Thanksgiving Crafts
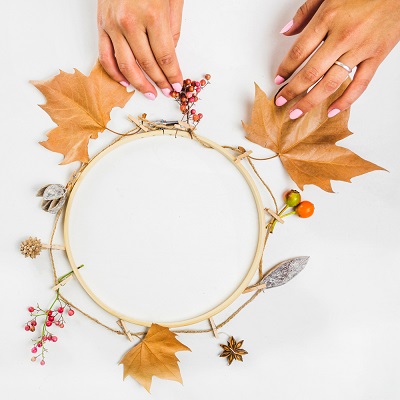 This Thanksgiving, why not make it an eco-friendly event? Here are some eco-friendly projects that include the whole family.
Greeting Cards
Thanksgiving is the time of year for sending cards. Making your own from junk mail and postal packaging is a fun project. Cut out pictures from holiday catalogues, gather sample cards that come in the mail, or otherwise collect interesting images from the free mail you receive. Then cut out greeting card-sized sheets of thin cardboard, thick envelopes, or other packaging. Use a paintbrush and decoupage medium, or white glue slightly watered down, and paste the images to the cardboard you cut out.
Decorations
Look to nature for the ultimate green decorating project. Here are some ideas: Continue reading
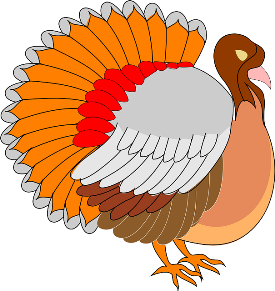 Turkeys are a well-known symbol of Thanksgiving. They’re a favorite subject of crafters who want to make Thanksgiving centerpieces and other decorations. And for kids, turkey projects provide a great opportunity to discuss the tradition of Thanksgiving.
This paper plate turkey is a craft that kids of all ages can do. Here’s how to make it.
What You Need
Paper plate
Brown crayon, colored pencil, marker or paint
Construction paper in brown, red, orange and yellow
White craft glue or glue stick
Scissors
Pencil
Googly eyes Continue reading
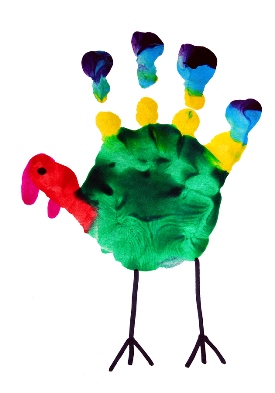 There are many fun activities that children can partake in during Thanksgiving. First, a list of things that they are grateful for is a nice way to kick off the fun. Another fun activity is recommended by parenting.com and it is called the Native Necklace. Here are the directions. First, remove the top ring of a paper cup. Punch 2 holes in the top of the ring and 1 hole in the bottom center. Paint the ring. You can paint the ring any color you want. The website went with brown. Next, cut a 20-inch piece of cord. String 1 bead on each end. Make a loop and place one end through each top hole. And then, string a few wooden beads onto the cord, creating a Y shape. Push 2 cords through the center hole. Add a single bead to keep in place. Finally, attach a feather and bead to each end of the cord to finish.
The next project is called the Darlin’ Dixie Garland. First, you must, cut apart a Dixie cup so it lies flat to create a template. Afterwards, trace it onto decorative paper, adding an extra ½ inch on one end, and cut out 7 shapes and then, place a strip of double-sided tape on one end of each paper. Wrap paper around each of 7 cups and attach with tape. Now cut out the letters that spell “Welcome”. And then, from there, you have to glue a letter to the front of each cup. Finally, use a utility knife, cut an X in the center of each cup bottom. Push 1 light into the bottom of each cup and hang in an entryway to welcome your holiday guests. Continue reading
